Configure your Service Proxy
The Udocx service proxy is an optional component providing communication between the MFP device and the Udocx cloud service. The service proxy is required for some older devices that cannot connect directly to the cloud. You only need to install this proxy server if it is explicitly mentioned in the Udocx configuration guide for your particular MFP(s). The Udocx service proxy requires the FTP Service role of the operating system, but can be installed on any server on your network with a static IP. The server and the service must be running and available for all Udocx operations.
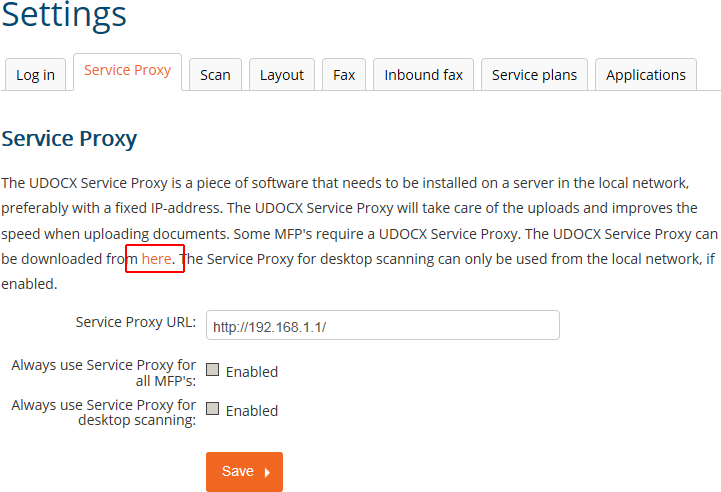
The Udocx service proxy may be downloaded from the "Udocx Admin Portal" > "Settings" > "Service Proxy" Tab. The link appears in the text description of the service proxy.
Steps
1.Ensure that the FTP Service role is installed in the operating system ("Roles" > "Web Server").
2. Run the Udocx Service Proxy setup.exe.
3.Choose the destination location, click [Next].
4.Click [Next] to confirm the HTTP/s communication ports and click [Install].
5.Before clicking [Finish], ensure that the option “Start service Fenestrae Service proxy" is enabled.
6.To verify that the Udocx Service Proxy is running correctly and/or to customize the connfiguration, open a web browser and type: http://<IP address Service Proxy>:<port>/config (default user/ password = admin / nimda). In the "Settings" > "FTP Server" > "Username" field, enter 'Anonymous'.
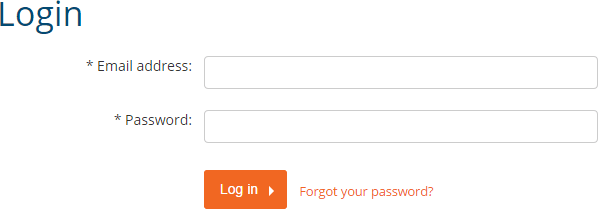
7.Login to your Udocx admin account in the Udocx administrator portal
7.Select Settings > Service Proxy
8.Enable the option “Service Proxy” and type in the IP address of the machine running the Udocx Service Proxy (in your network). If all your MFP’s require the Udocx Services proxy, enable the option “Always use Service Proxy for all MFP's”. Click [Save].
9.You may also add individual MFPs by clicking [MFPs]. Type in the IP address of the MFP in the “device address” field and click [submit].
Then, under "actions" click "Add application", login and click [retrieve applications]. To install Udocx, click on “install”.